
It’s been a while since I posted, and I have a new Monster High doll repaint to share. In my last post I said I’d be talking about my soon-to-be doll mascot, however, a few things have changed since then. The first one is that I did this doll first because she was quicker and easier, the second one being that I’m MOVING IN 3 WEEKS! I can’t believe it’s this close now, and because of that, I don’t think I’m going to have much time to focus on my more intensive custom dolls I’ve been planning. It’s also why I haven’t posted in a while.
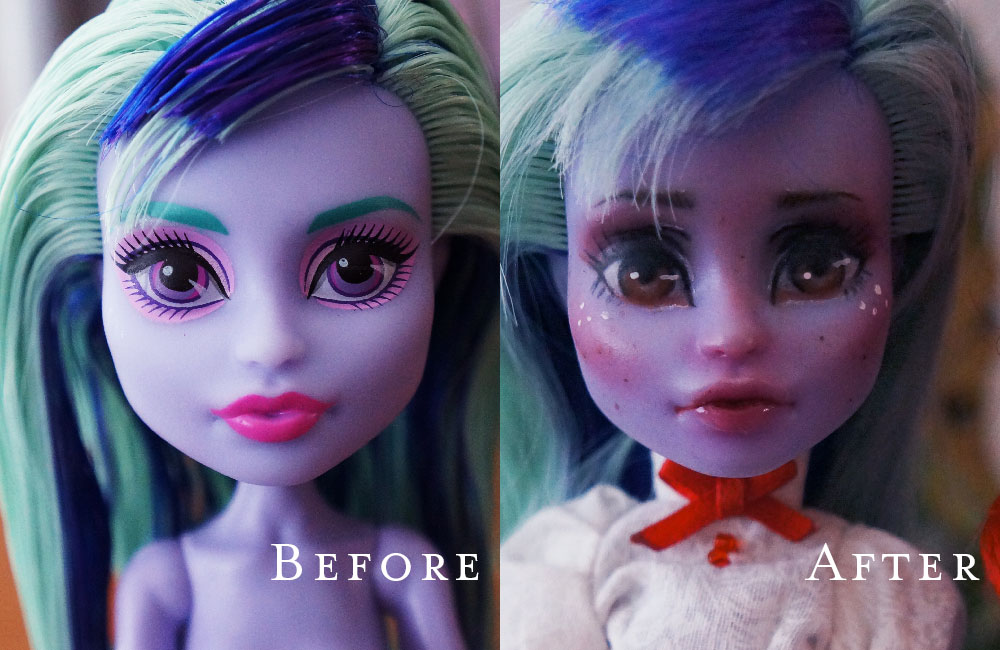
However, I figured it was time to share Madeline. The base is Twyla. I decided I wanted to go for a cute look for her.
The first thing I want to share with this doll is my newfound method for wrapping the doll’s hair and body to protect it from the sealant spray. instead of wrapping the dolls hair similarly to how you’d wrap long hair with towel in real life, I found a different way. The “towel-wrapping” method tended to leave me with many spots on the face covered by the protective material (I was using plastic wrap before) and therefore did not get hit with the sealant when I sprayed, and it would often leave little streaks of congealed sealant around the edge of the plastic on the face. It also refused to stay in place and it would frustrate me beyond imagining. Lastly, when I used plastic wrap, the sealant would dry on the wrap and start flaking off while I was working on the doll and it wasn’t pretty. I didn’t want to have to use new plastic wrap every single time I had to spray sealant on the face, so I tried something new instead.
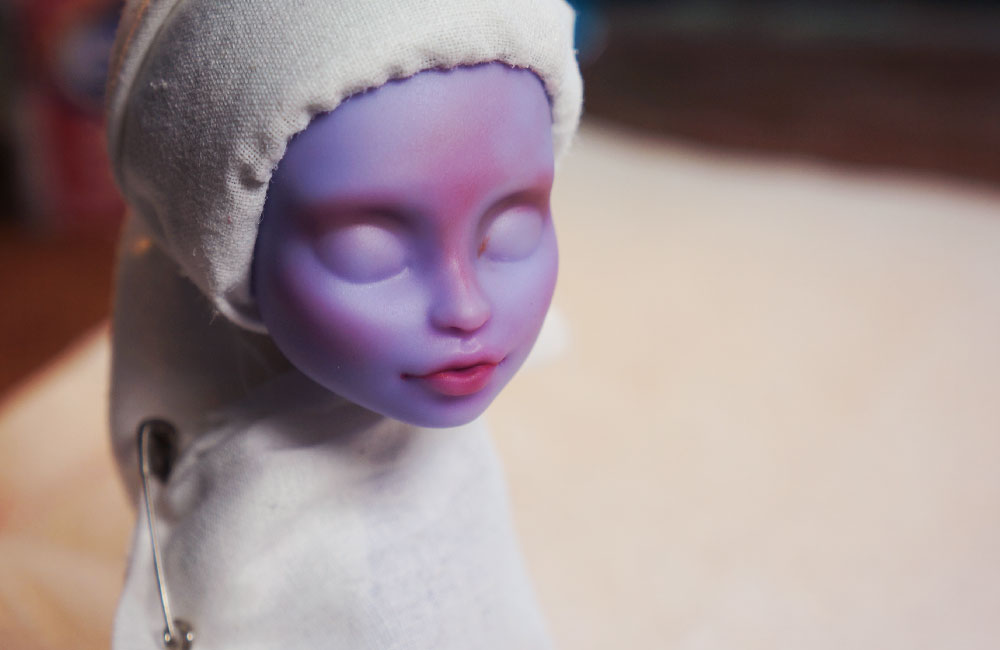
Using a piece of scrap fabric, I placed the top edge just above the hairline, with the rest of the fabric draping down over the doll’s face and body. I wrapped a very small silicon hair tie around the head at the hairline, then flipped the fabric over to cover the hair, creating a tight seal with the rubber band around the hairline with the edge of the fabric tucked underneath. Then, with the excess length of the fabric, I wrapped the body and used safety pins to secure it closed. I have no idea if that made sense or not but here’s a picture of the final result.
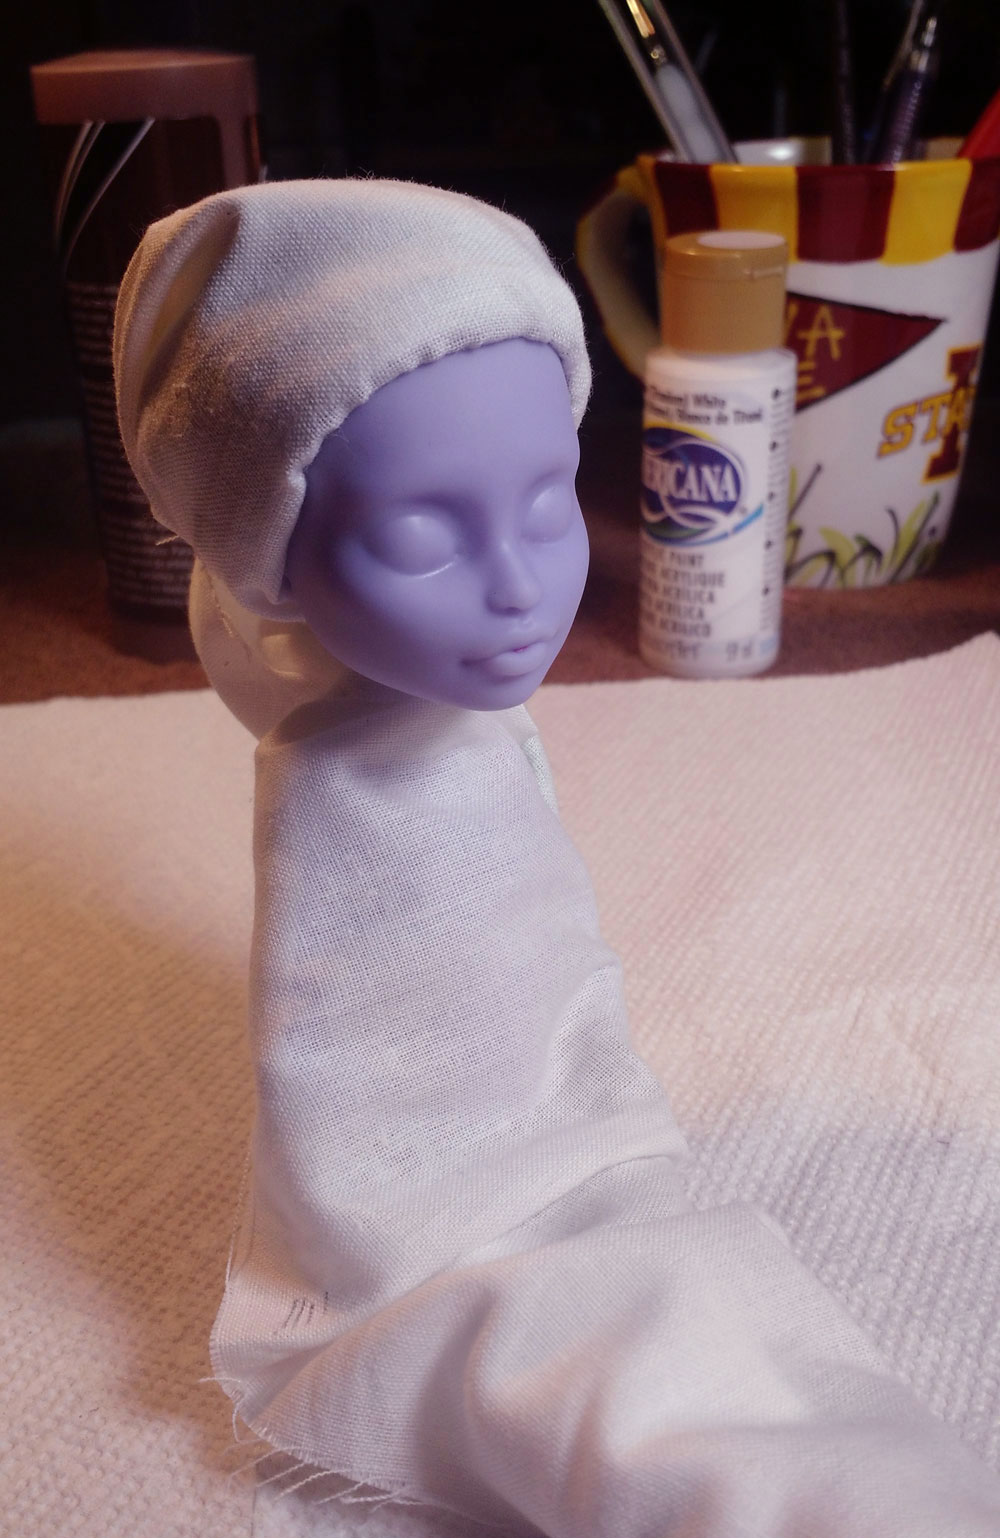
This completely eliminated every issue I was having. It was a solution that was almost to good to be true. Plus, since it’s fabric, I can wash it whenever I want by just throwing it in with the rest of my laundry. Though I may fray-check the edges so they don’t unravel too badly!
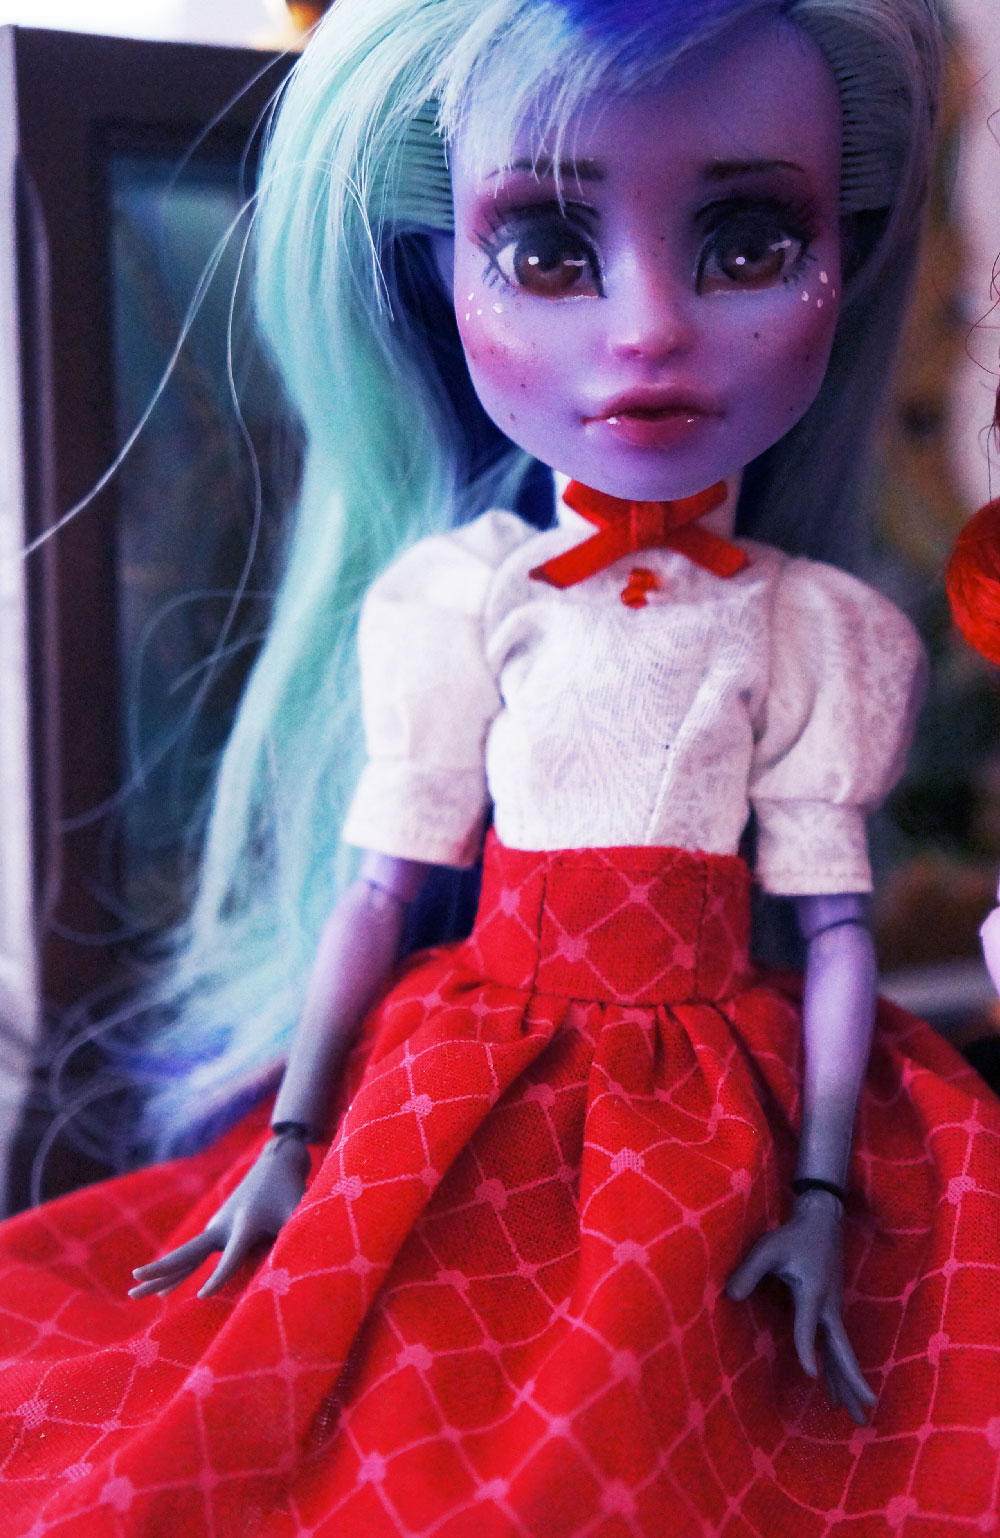
I went a little more dramatic with this one by adding some darker eyeliner, freckles, and the little highlights on her cheeks. Overall I think she is my favorite one so far. She’s just so cute – the pictures don’t do her justice!
This is also one of the first dolls I made an outfit for. Since I finished her around Valentine’s day, I made her a cute Valentine’s themed outfit. Check out the gallery to see progress pictures and the final result!


It may be a while until my next updates, but I have several dolls in-progress and I have been video recording everything since starting this doll, so hopefully I’ll be starting to make some videos soon! On that note – if you were confused by my explanation of the doll wrapping process I did, I plan on making a short video of how to do it soon. I think it would be helpful to people just starting out and even some veterans too, because I found this method WAY better than any others I’ve seen.
That’s all I have for now! Look out for further updates in April after my big move. TTFN!