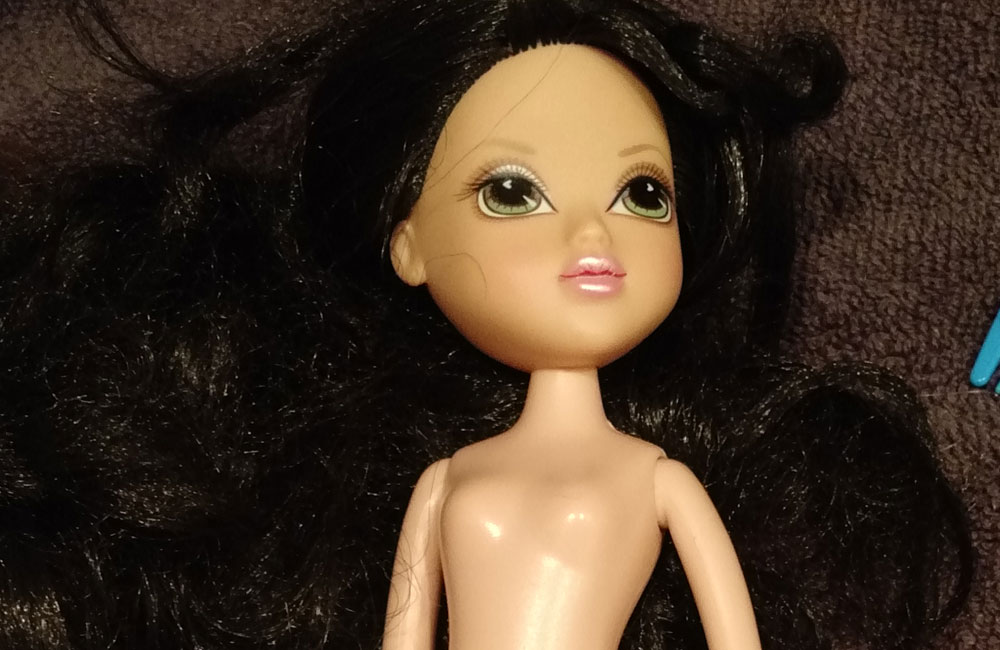
The time has come – the time to talk about my first repaint. And let me tell you, she sure is a piece of work – in a bad way. If you read my first post, then you’ll see the first dolls I bought included 3 Monster High dolls and 2 other kinds – one Moxie Girlz doll and one La Dee Da doll. I kind of hated how the Moxie Girlz’s faceup was done and her hair was a monster in and of itself. She kind of looked like a Bratz doll except maybe a little more tolerable. By the way, I will throw out there that I think Bratz dolls look demented and I dislike them greatly. Phew. Got that off my chest.
Anyways, I decided that she would be my first sacrifice! I was sure I was going to give this girl the beautiful face she deserved.
Also, I should mention that at this point, I had not yet received my order of Mr. Super Clear in the mail and was waiting VERY impatiently for it. So after reading about what else I could use that I could easily get at my local hobby store, I went out and bought myself a can of Testor’s Dullcote. Ha. Turns out you can’t use the same techniques that you learned about MSC with other types of sealant! Who would have thought? More on that further on.
First things first, I started removing the factory makeup. I couldn’t decide if she looked like she was horribly sad or like she had been possessed by Satan (or both) during this process.

Now is when I learned my first two very important lessons, and now they are tips to those of you who may be starting out too.
Tip #1: Don’t just use cheap nail polish remover from the dollar store. That’s what I did here and it did NOT work. I went and got my nail polish that cost more from the drug store and it was SO much easier to remove the paint. I assume the cheaper one had a lower percentage of acetone in it and that’s why it didn’t work as well.
Tip #2: DO NOT wear nail polish while you are trying to remove a factory faceup. I learned this the hard way! It was a huge mess on my cotton gloves – the acetone soaked through and began to remove the nail polish, making it sticky and gross, and some even got on the doll while I was doing this.
But eventually I got her all clean!
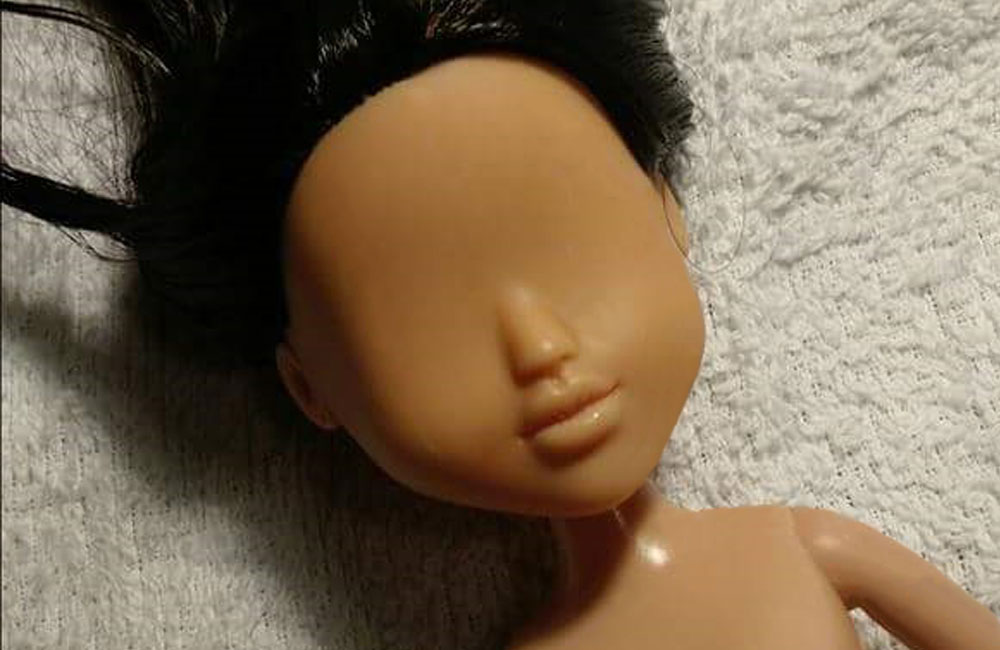
Ah yes, such a beautiful blank canvas to start working on. Her face was going to be so beautiful. I mean, I’m an artist, so clearly I was going to get this right on the first try, right? *Laughs internally*
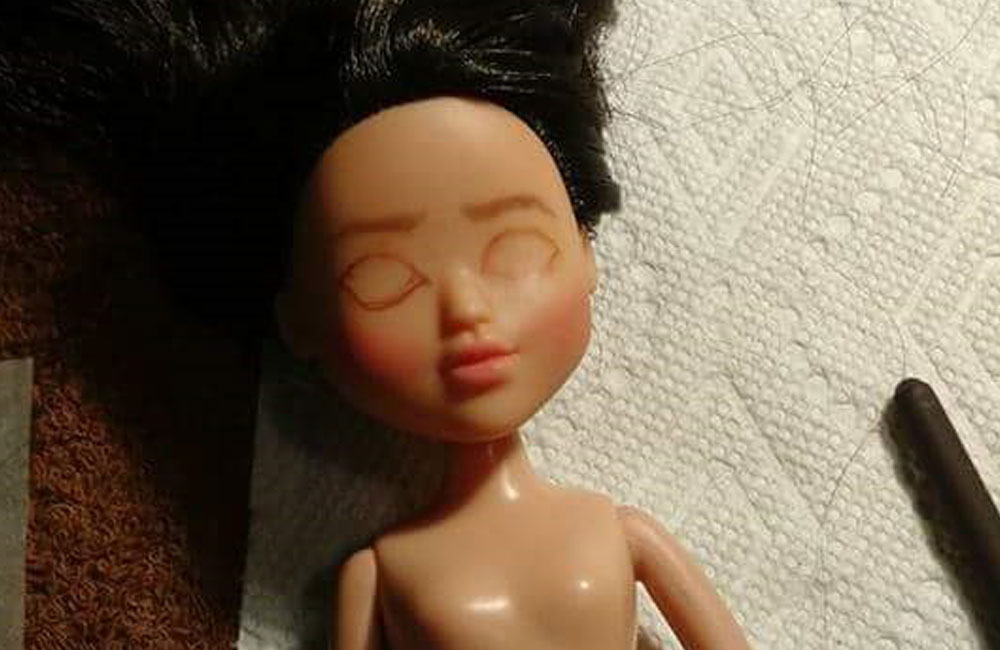
Ohhh boy. I began to realize at this point that it was a bad decision to try starting with a doll that didn’t have any sculpting that I could use as a guide. Slowly, regret for choosing this doll began bubbling up.
This was also when I started to realize the Testors Dullcote wasn’t working how I thought it would. I had done the 2 layers of sealant waiting 30 minutes on each just like you would with MSC. However, as I started to erase my terrible, terrible attempt at drawing eyes, I actually started erasing away the sealant as well. I ended up deciding to just erase the entire right (doll’s left) eye and give up on it entirely.
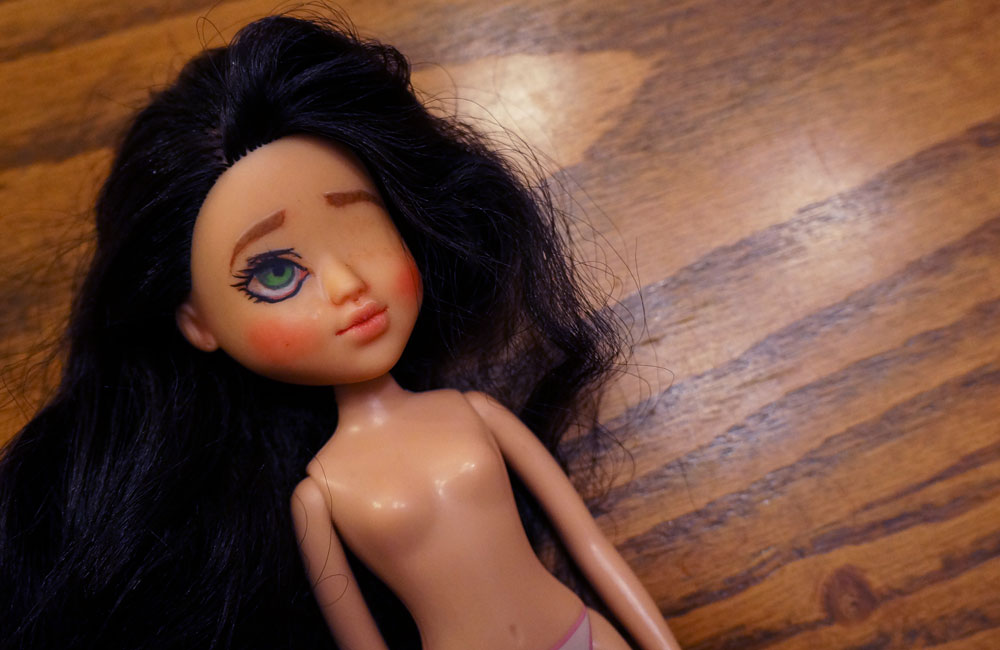
After doing another coat of sealant, I decided just to do the left eye. It was at least some practice, even though it still ended up looking creepy and soulless.
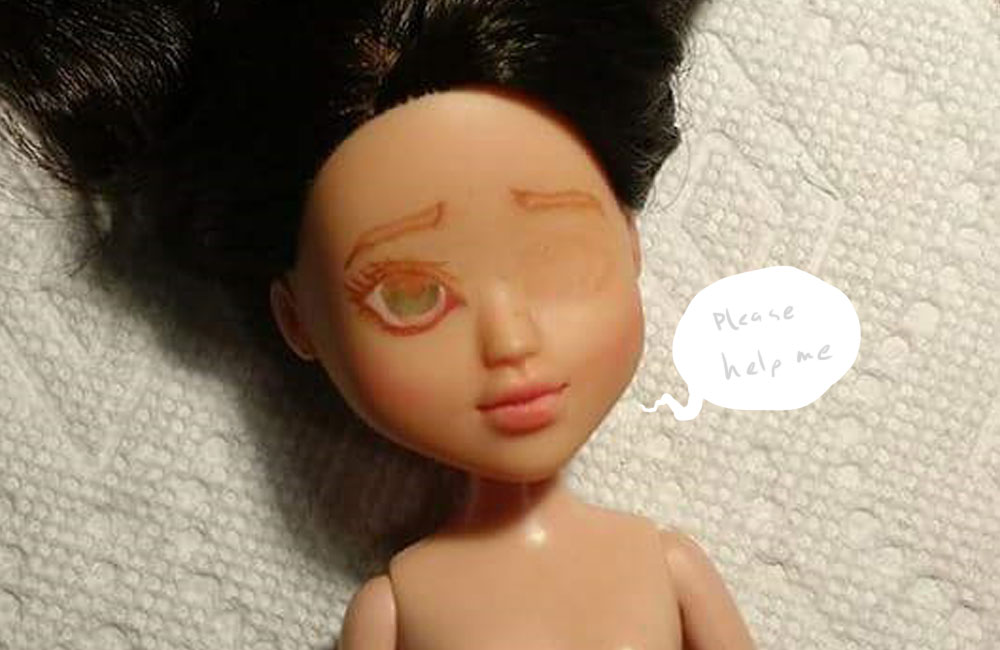
Poor girl really does look like she needs help. Well, I didn’t wanna completely give up. So I kept truckin’ through that left eye until I retired and decided it was time to move on to a different doll.
The final(??????) result?
She still looks like she needs help. Oops…
Feeling like I failed so hard was actually a good thing though, because I learned a LOT of things that I applied to the next doll I did, which I am actually still not finished with. She looks SO much better than this sad, failed art experiment. I’ll be talking about her my next post, so look out for it!
TTFN!